I bought this tube of Colour Restore Deep Red from Boots for £11.99 for 100ml of product and a pair of gloves & instructions.

Find more information on the Colour Restore website."General washing, styling, heat and sun damage can deplete the tone and vibrancy of an artificial colour. The red artificial permanent molecule is so small it’s prone to flushing easily from the hair leaving behind a dull shade.
- Colour Restore Red Pigment Hair Infusion toner developed by Scott Cornwall replenishes and returns hair colour to its former glory without the need to use a peroxide or ammonia based colourant
- Simple to use, just rinse through (like a shampoo) to maintain tone or leave in for up to 25 minutes for deeper tonal results.
- Contains no ammonia, no peroxide, no harsh chemicals.
- Restores and replenished red tones, adds a deeper ‘conker’ effect to mid blondes or brunettes.
- Creates vibrant lowlight results in highlighted hair.
- Can be used immediately after perming, colour removal, straightening or bleaching"
Why did I buy it?
I bought this product because about half a year ago now, I dyed the tips of my hair red using L'oreal Majicontrast (I will write a proper review of this product sometime I promise), which has lasted a very long time, considering red hair dye is notorious for fading rapidly. However, my hair has finally reached a stage where whenever I wash my hair normally, no more red hair dye is coming out of my hair - i.e. all the dye has faded out of my hair. My hair is now a gingery/reddish/brown colour and I really want to restore the vividness of when I first dyed the bottom of my hair red, without having to damage my hair with further use of peroxide or ammonium.
Check out this post I wrote where I way up the pros and cons of using different methods to do this: "A Hairy Dilemma".
Therefore, when I saw this in my local boots, it seemed like the perfect product just to "top up" my hair colour with minimal damage.What did I do?
N.B. This is what I decided to do, not what was instructed on the instructions.
- TEST: First test a small amount of the product by putting a spot of it behind your ear and leaving it for 48 hours to see if you react to it. I was very naughty and didn't do this, but I advise everyone to do this as it's better to be safe than sorry! I should really practise what I preach...
- WASH: I washed my hair with a clarifying/clear shampoo because using a cream shampoo can leave a residue onto the hair, which will prevent Colour Restore from penetrating into the hair (lol).
- DRY: I lightly towel dried my hair.
- PROTECTION: I put a plastic bag over my shoulders and put some plastic gloves on.
- MIX: I mixed 1 splodge conditioner with 1 splodge Colour Restore Deep Red
- This was so that this process would condition my hair whilst dying it too.

- COMB: I combed the mixture through the ends of my hair for about 5 minutes.
- LEAVE: I left the mixture in my hair for 20 minutes
- RINSE: I rinsed the ends of my hair with cold water until all the conditioner was out of my hair, NOT when all the Colour Restore was out.
- If I were to rinse all the Colour Restore out of my hair, my hair would be back to the colour at the start, so don't do this!
- DRY: I then towel dried my hair with a dark coloured towel, otherwise it would've been stained bright red.
In order to understand how this product works, I think it's time to dissect the ingredients and their properties - I'm really fascinated by the science behind everything so yeah.
N.B. Please bare in mind that I am a 15 year old girl, thus my chemistry knowledge is confined to the GCSE syllabus and whatever resources I can find on the Internet, so please excuse me if I get something wrong. I may not be 100% scientifically correct, but I'll try to express things in layman's terms.
- Aqua
- This is water and the reason that it is used is pretty obvious.
- Cetearyl Alcohol
- This is fatty alcohol used to thicken the emulsion and to keep it from separating. It also acts as a foaming agent, as well as having emollient properties which leave the hair soft and smooth.
- Cetrimonium Chloride
- This is a conditioning agent used as a softening, detangling and anti-static agent for hair care products.
In dry conditions, hair becomes "static" as each hair becomes statically charged with the same charge, so they repel from each other and thus appear to stand on end. Cetrimonium Chloride carries a positive charge that attracts them to the slightly negatively charged skin and hair proteins, preventing this from happening, thus making the hair smoother and more sleek.
- Triethanolamine
- This is a strong alkaline substance, which is used to adjust the pH of the product and a surfactant. This basically means it helps emulsion formation by reducing surface tension of the substances, enabling water and oil-soluble ingredients to mix.
- Methylchloroisothiazolinone and Methylisothiazolinone
- This is a preservative and a biocide (prevents biological infestation such as harmful microorganisms from growing). It is also associated with allergic reactions, so remember to do your skin test!
- Parfum (fragrance)
- This is so that the product doesn't smell too bad (pretty obvious).
- Basic Yellow 87 and Basic Red 51
- This is what actually gives the colour, not all the other ingredients listed above.
- Magnesium Chloride and Magnesium Nitrate
- I honestly have NO idea what these two salts are for in this product, even after research. Anyone care to enlighten me?
 |
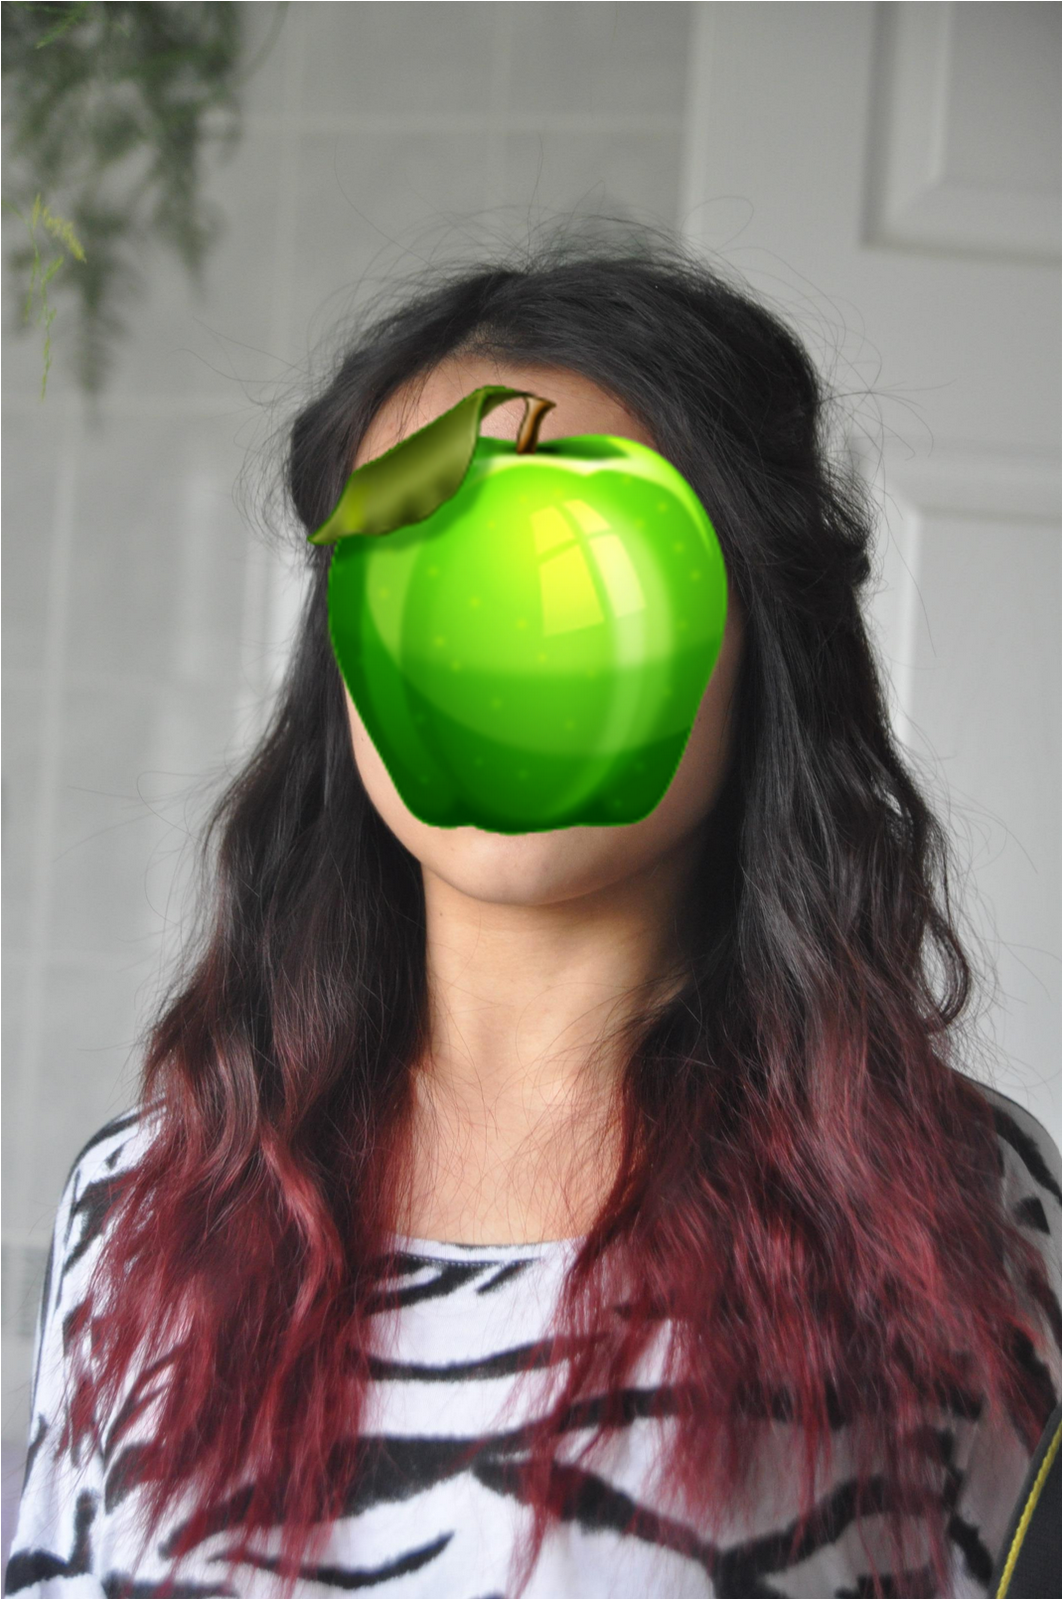
| From ginger straw to lushious red locks! |
- The colour!
- As you can probably can't see from the pictures below since my camera seems to make my hair look super red, regardless of what colour it is, I was pleasantly surprised by the results for this product.
- My hair went from a gingery-brown to almost the same colour as when I first dyed it: a true conker/mahogany red (yay hardwoods)
- The condition my hair was left it!
- Because I mixed in lots of conditioner with the Colour Restore, this process also helped to soften my hair and make it more shiny as it was deep conditioning as well as dying. I used a normal conditioner to mix with the CR, but I imagine that if a deep conditioning masque was used, it would be even more beneficial to the hair
- Because no hydrogen peroxide or ammonium was used in this process, there was no damage created - there were only benefits! As you can see from the ingredients list analysis, there are no products that actually affect the hair itself.
- The little amount needed
- As you can probably see from the image above, I used very little product when restoring my hair colour, so I can imagine this 100ml tube lasting a good while.
- Since I diluted the CR further with conditioner, it meant even less was used.
- The price
- This cost £11.99, which could be seen as alot, compared to traditional dyes. However, bare in mind that only a small amount of product is required, so perhaps this isn't too bad value for money.
- The mess
- Red hair dye is also being notorious for being super, super, super messy and this stuff is no exception! This will stain hands, towels, tiles, clothes if you get it anywhere, so you must be extra careful when using this product, otherwise it will look like there has been some sort of bloody massacre.
Oh yes! Once you have bleached/dyed your hair for the first time to lighten it, I reckon you could just keep buying this product to "top up" your hair colour as it fades. Since I use so little, I think this tube will last for a long time, thus justifying the price. I have no idea about the longevity of the colour produced as I only used this product for the first time one day ago, but I have a good feeling about this (I will update this once I wash my hair again).
I think this product works in pretty much the same way as a semi-permanent dye, so if you have light hair (medium brown or lighter), this would also be a good way of dying your hair a bright red colour!
ScatterrBrained rating?
 |
| Four and a half brains out of five! |
Rebecca x
P.S. Hello everyone, what do you guys think of this new style of review? I have ALOT to talking about regarding hair dying, and I was wondering if this was too long already or if you guys would be willing to read my ramble? Was this too sciencey, or you guys interested? Please comment below your opinions, as in the end, this blog is for you guys to read. :)
P.P.S. I've really gotten out of the habit of blogging regularly, so sorry! I have so many posts that I want to write, but I never seem to have time. :(
P.P.P.S. There is still time to vote for your favourite name for my second blog. Go to the top right of this page to vote!